
Seascape Part 1 - Composition and Colours
I have never thought of myself as a seascape painter but this term has all been about water and texture so it seemed a natural thing to do. We have already painted a stream and a waterfall, this was our third painting and it came to a halt when I had to stop classes due to the lockdown. I am aiming to try out a video tomorrow with more detail but meanwhile here is the start of the painting in photo form.
This photo taken by Margaret Barrett was taken on a beach in mid Wales, she has very kindly agreed for us to use it in our group seascape painting.
Feel free to paint your version and send it in. Or follow my version, I will take you through step-by-step my process.

Step 1 - Preparation
This scene has an amazing versatility. Decide on which area you wish to concentrate on... I decided I would create a cropped square version but there are many parts of the photo you could choose or you can create the whole scene, here is my cropped version.

Decide where you want your horizon line and then lightly draw the essential areas. I have not worried too much about the accuracy of the rocks or cloud formations, it is the spirit of the scene I am aiming to capture.
The colours I have used are Quinacridone Gold (a great colour for the glow in the sky, it is transparent so will work for the rays too), Cerulean, Ultramarine Blue, Burnt Sienna, Permanent Rose and Titanium White.
Try experimenting with colour mixes for different parts of the painting. Note the darks in these rocks (see photo below) with blue-green highlights, try out the dark colours. I decided to use the ultramarine, rose and burnt sienna but underpaint with the quin. gold hopefully enabling a 'glow'.

Step 2 - texture paste (optional)
Once you are happy with your colours, have done your drawing you can use texture paste if you wish but as many of you won't have paste at home I will do this painting with just acrylic.
If you do choose to use the texture paste consider where you put it, for example, in the clip below you can see where the raised areas are and although you do not need to be precise considering this will help. Try not to put texture in only one part of the painting, if you focus it in one area only it could feel unbalanced or disconnected, the same applies for introducing a colour in only one area.

Step 3 - Starting the Sky and How to Dry Brush
As with most landscapes the first painting step is the sky, I painted the sky using a dry brush technique, I hope to add my own video in tomorrows blog when I do the next layer of the sky... meanwhile here is a video by Tim Gagnon showing the scrubbing motion of dry brush technique. Remember for this technique you need to use a hard bristle brush, if working on a large area you can use a household brush. Also do not use a lot of paint, dab it off on a paper towel if too wet. In this video Tim used a blue painted background introducing clouds on top, I have used the same brush stroke but with many colours not just white on top of dry blue. I will do another layer on top in a video form to demonstrate.
TIPS:
Perspective - Clouds get Smaller Near the Horizon
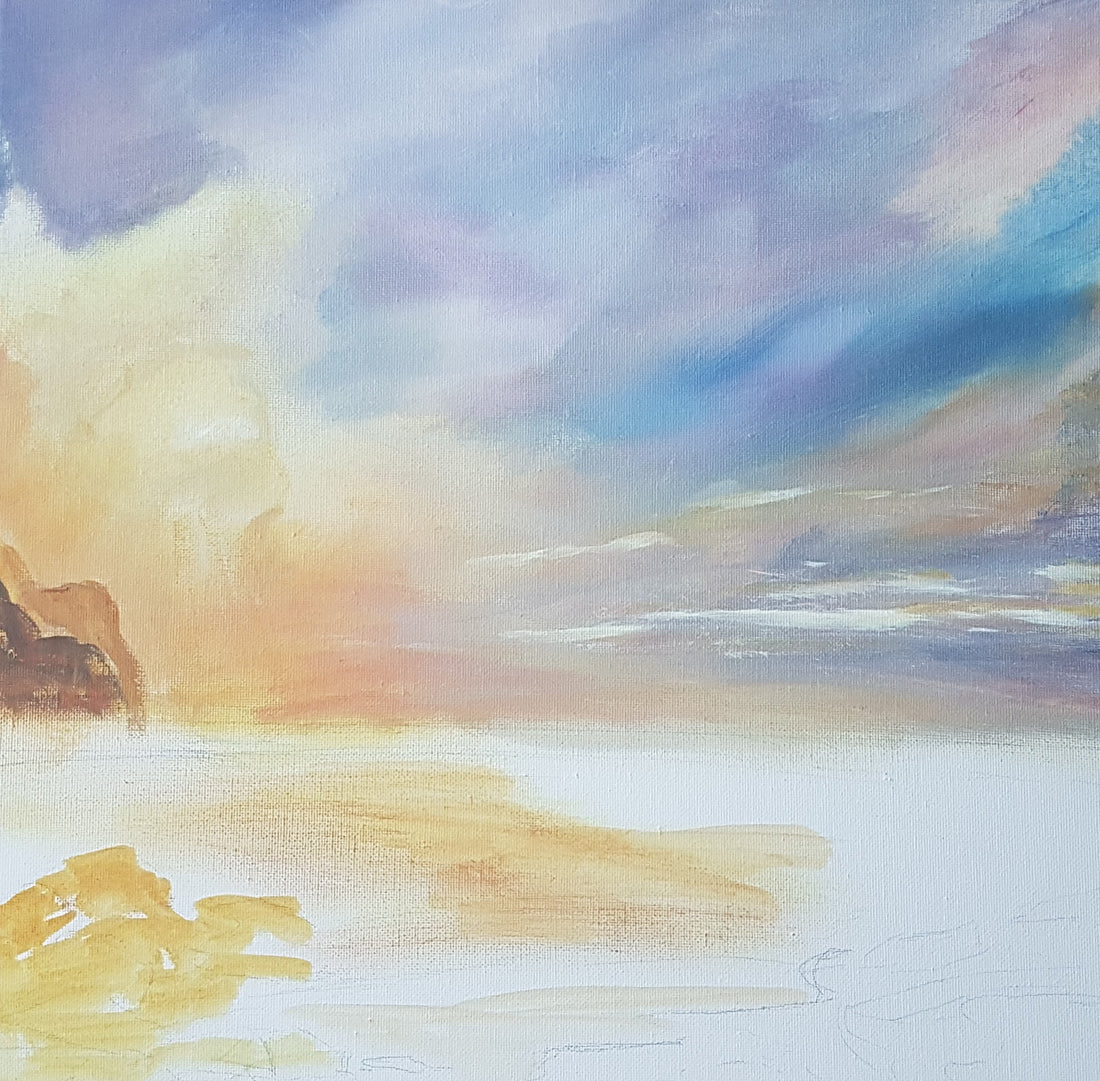
Things to note clouds are smaller the closer to the horizon they get as this is further away. See the first stage of the sky in the painting below. The advantage of this technique is that you can do further layers which I will demonstrate in the next blog. See how I have left the area which will be the sun and rays of light without any blue.

Avoiding a Green Sky
Be careful when adding colours in the sky... I have used quin. gold and perm rose with white to make the peaches and orange hues. The blue colour is cerulean, be careful to separate the yellow from the blue to prevent a green sky... you can do this by adding a bit of red to the blues to create purple hues.
I will definitely do a video on this, my first one so wish me luck and excuse me if it's not perfect!
Hope you've enjoyed getting ready for this painting and learning about dry brushing for clouds, I hope you are looking forward to the next steps.
See you in the next blog.
Debs x